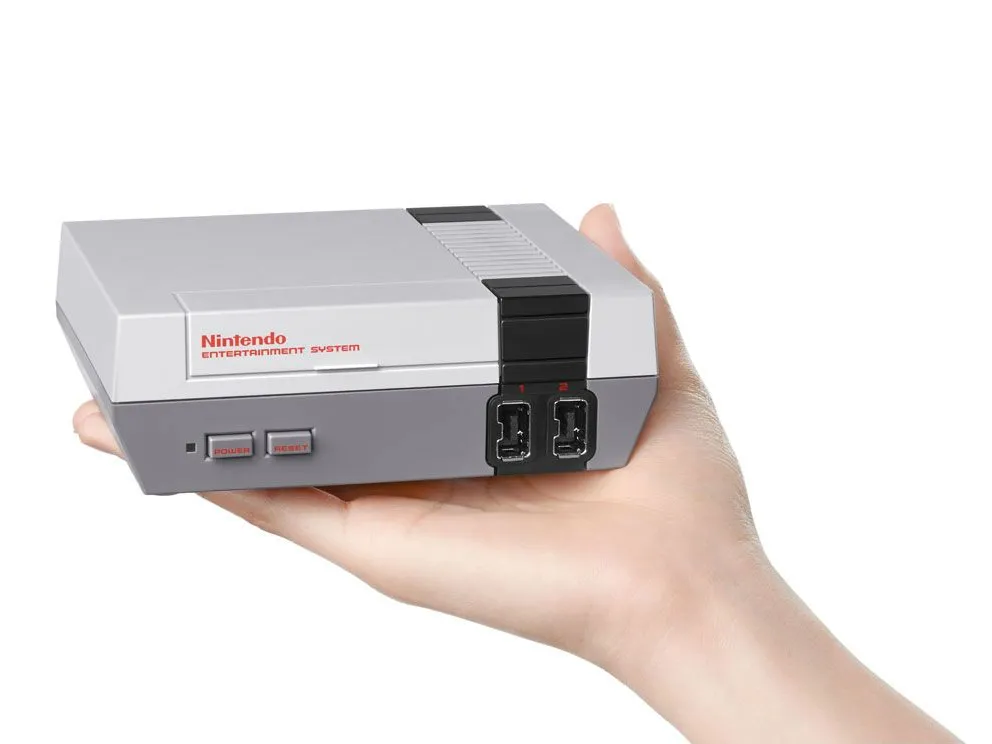
Popular gaming platforms at one time included the Nintendo Entertainment System (NES). If you want to learn how to play NES games on an Android phone , you’ve come to the right place. Many individuals nowadays got their first taste of gaming with the Nintendo Entertainment System (NES), which came out in 1983. There’s nothing better than reliving the good times from a few years ago. In the end, it’s all good news: Android smartphones and a little time spent configuring the system are all that is necessary.
A simple definition of an emulator is a piece of software that allows one device to mimic the behavior of another. We’re on the lookout for an Android app that can mimic the Nintendo Entertainment System in this situation. Because it’s a mobile app, there’s no difference in how it affects the device.
Get a NES emulator on your computer or mobile device.
To locate a NES emulator, go to the Google Play Store and do a search. One of the most popular and trustworthy options is the one displayed in the picture below (Nostalgia.NES). Ads will be present in this app, however they may be paid for in order to eliminate them.
Download a few NES games.
In order to play a game on the app, you first need to download it. Because there are so many websites on the Internet, this may be more difficult, and there’s a danger you’ll end up on a hazardous one. However, there is no need to be alarmed, since reputable websites such as EmulatorGames.Net exist. Select a game from the list, and then click the Save Game button to save your progress.
There may be some new terms on the website that you’re not familiar with. ROMs are generally referred to as games that can be played on emulators. A ROM is a replica of a game’s read-only memory, which is referred to as a ROM in this context. To put it another way, an emulator ROM is nothing more than a computer’s equivalent of a video game cartridge. Because the NES is such an ancient system, most of the games on it are relatively tiny. Since ROMs only take up a few kilobytes of disk space, assembling a huge collection is simple.
Organize the game files once they’ve been extracted.
ZIP files were obtained from the previous step’s website. Getting them out of the way is the first step, and it’s not too difficult. Open the file manager on your Android phone if you’re not familiar with it and search for the downloaded file there.
If you can’t locate it in the Downloads folder, try searching for itinstead. To extract the file, pick it and press Extract. If everything goes according to plan, you should end up with a file named “.nes” that contains the name of your game.
You don’t have to organize your files in the program that you downloaded in Step 1. The software will automatically detect and show all installed ROMs on the phone. In certain cases, putting all of the “.nes” files into a single folder and calling it “NES Games” is a smart practice. Again, this isn’t absolutely essential; it’s only a neatening technique.
Loading the Games
Go return to the emulator you downloaded earlier and open the “.nes” file you just extracted. There’s no need to worry about whether or not the files are neatly organized in a certain location. I think the games should be listed straight away on the app’s main menu.
To avoid this, make certain that the game’s file is in an open folder, not in a ZIP file or a password-protected directory. Start playing right now by clicking on the game you wish to play! Downloading new games and adding them to the list is simple from the main menu.
Next, familiarize yourself with all of the available options and controls.
The directional pad, buttons for A and B, and the Start and Select buttons are all included in the controls. Additionally, there are other options and functionality that were not available on the original device.
You can comprehend most of them and the game settings are merely techniques to address any severe difficulties, so it’s better not to meddle with them needlessly. As a result, the game should run without issue.


Leave a Reply